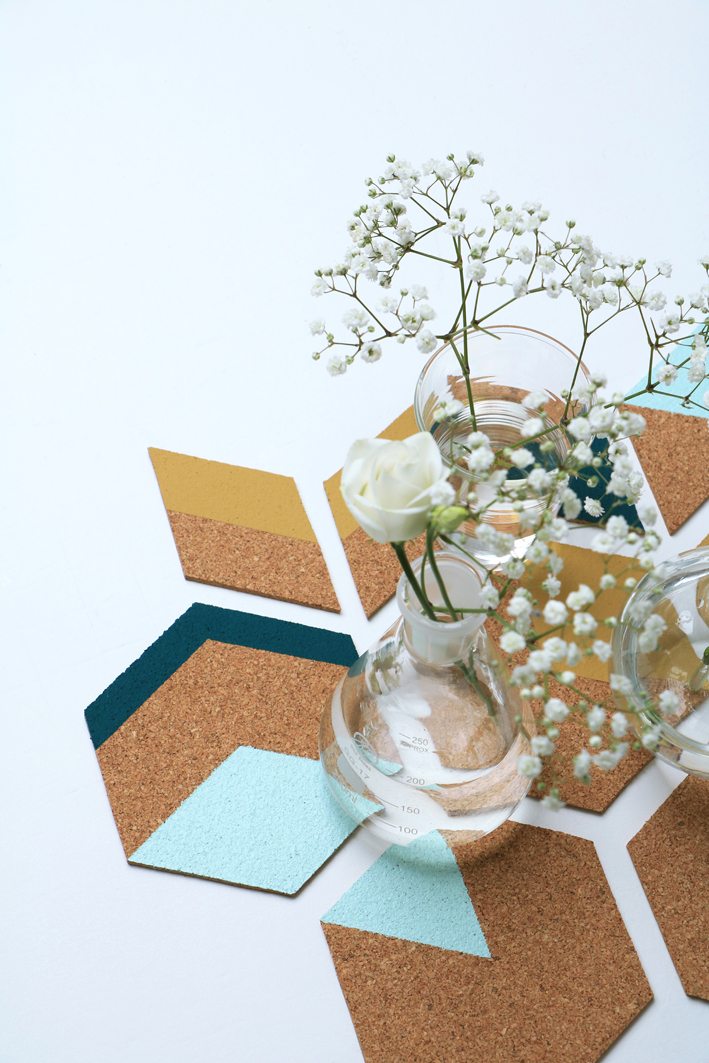
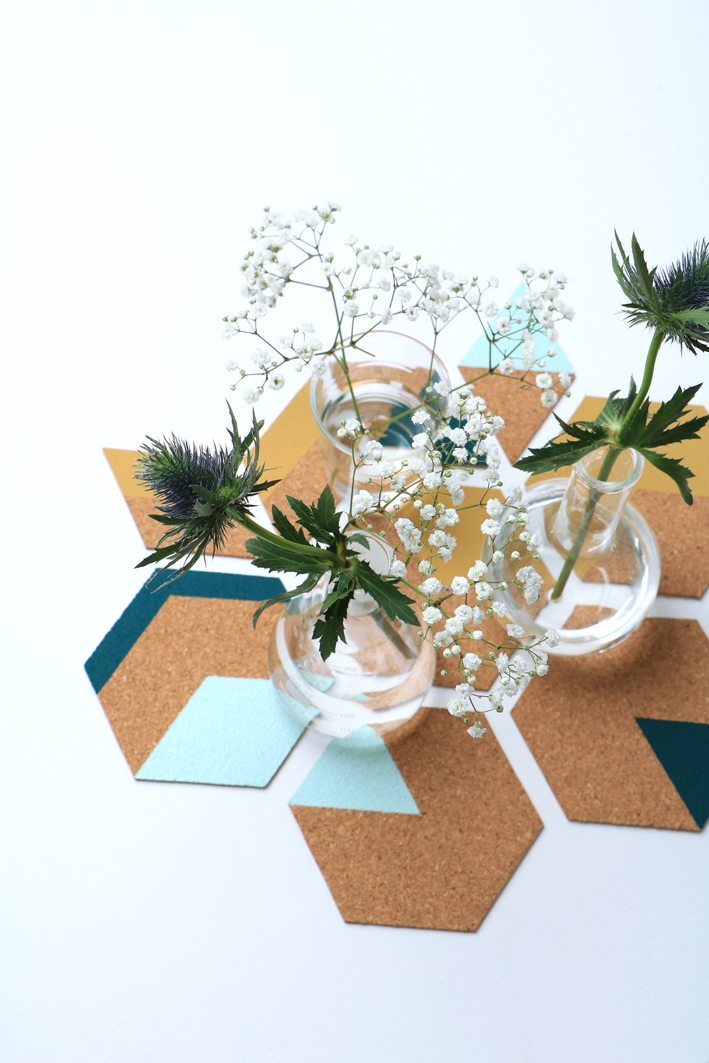
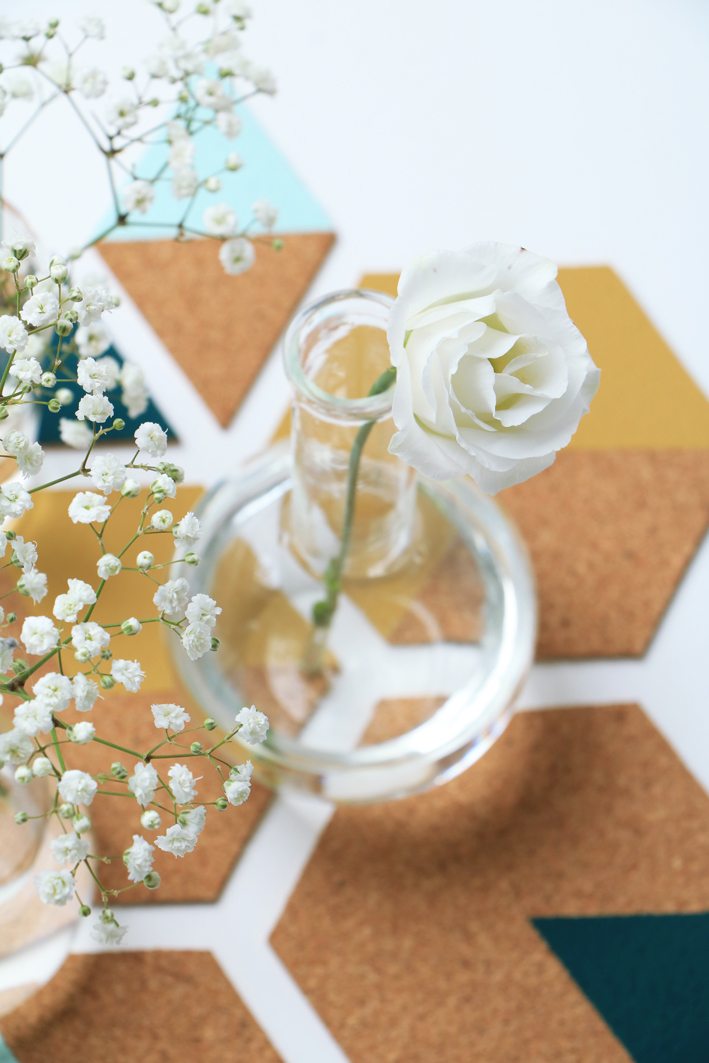
This month I made these diy cork coasters for Fashionista magazine and I’m happy to share it with you! Cork is a very easy material to work with and the possibilities are endless… I wanted to create a group of coasters with a graphic pattern on it and I’m pleased with the result. If you use some left overs of paint, this diy project will cost you almost nothing!
This is what you need:
- 2 sheets of cork (A4)
- a hexagon & rhombus mold or template (I found them online)
- stanley knife
- cutting mat
- washi tape
- leftovers of paint
- brushes
Step 1:
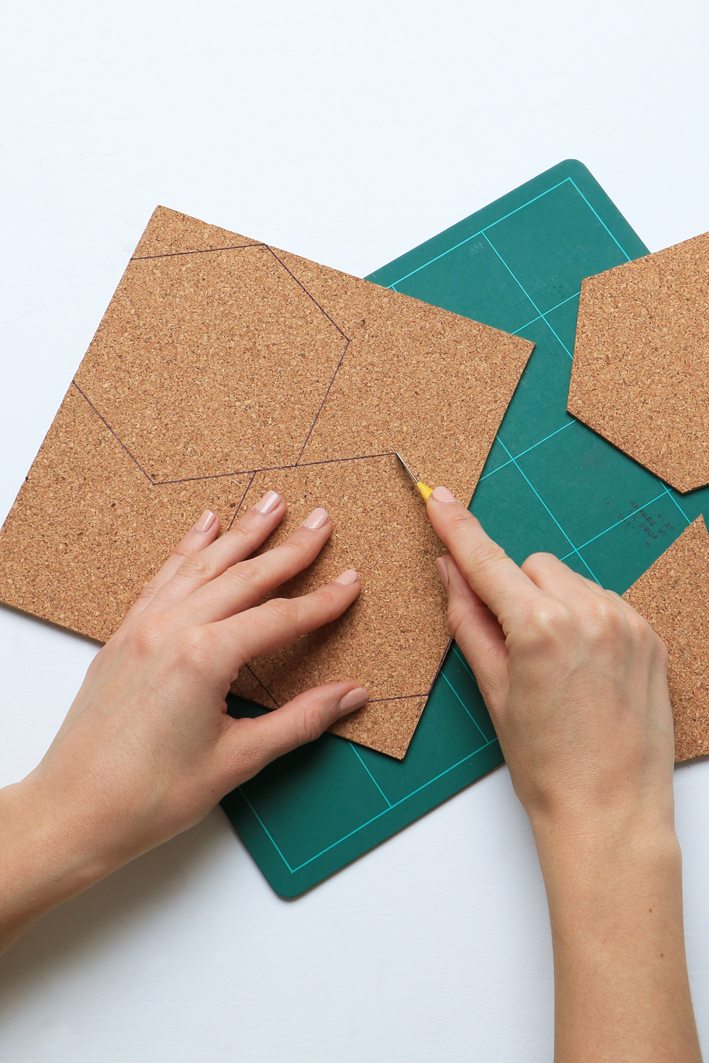
Print out a template for a hexagon and a rhombus and cut them out. Trace them onto the pieces of cork as many times as possible.
Step 2:
Use a cutting mat and the stanley knife to cut out the shapes from the cork.
Step 3:
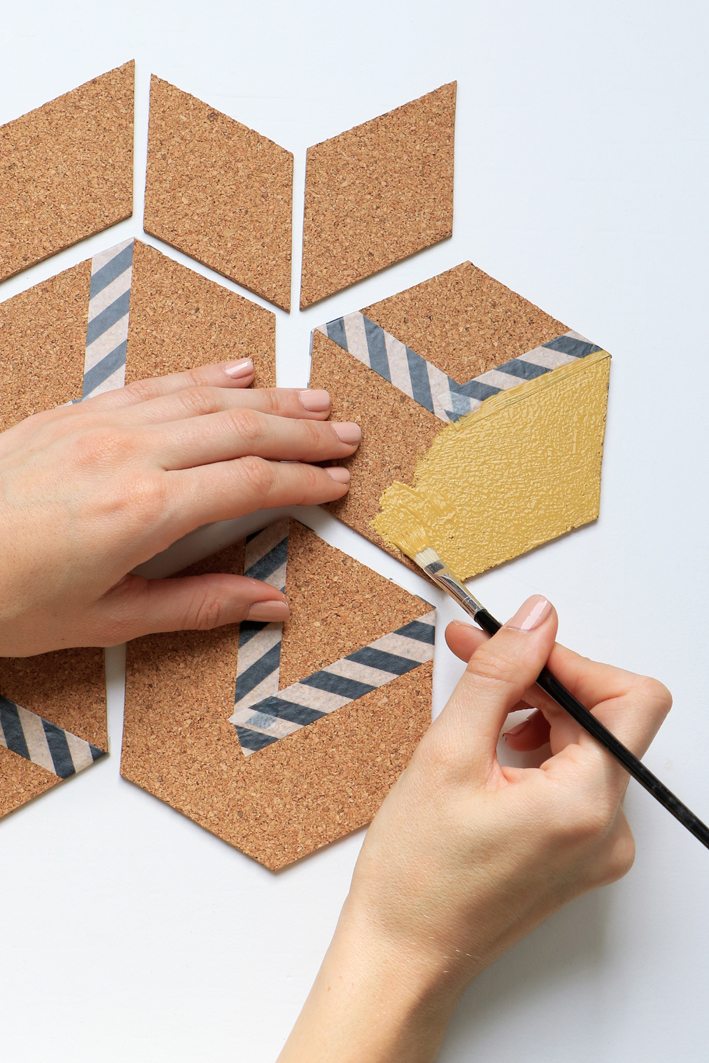
Put the coasters in a group and create a pattern on them with washi tape. Paint the taped pieces in the colours that you like and leave it to dry.
Step 4:
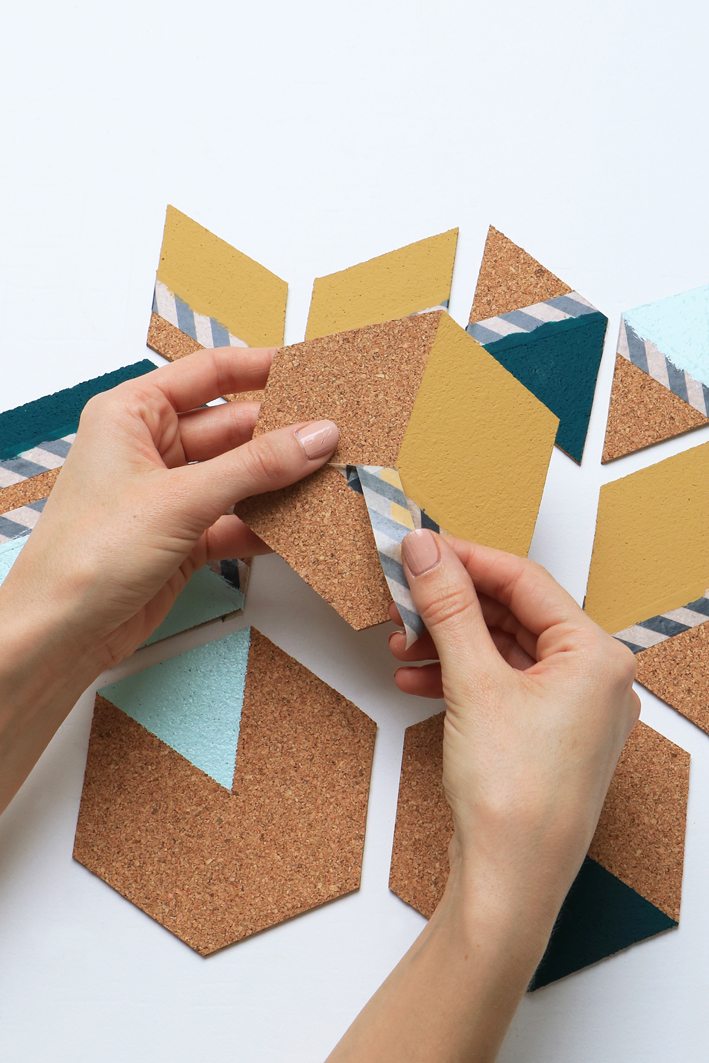
Well it’s pretty obvious… Remove the tape… That’s it, you’re done!
Photography: Marij Hessel

2 replies on “Diy cork coasters for Fashionista”
Rensina Steursma
Wat een leuke DIY!
Ziet er goed uit en zo kleurrijk.
Fijn weekend
Rianne
Super leuk idee zo!