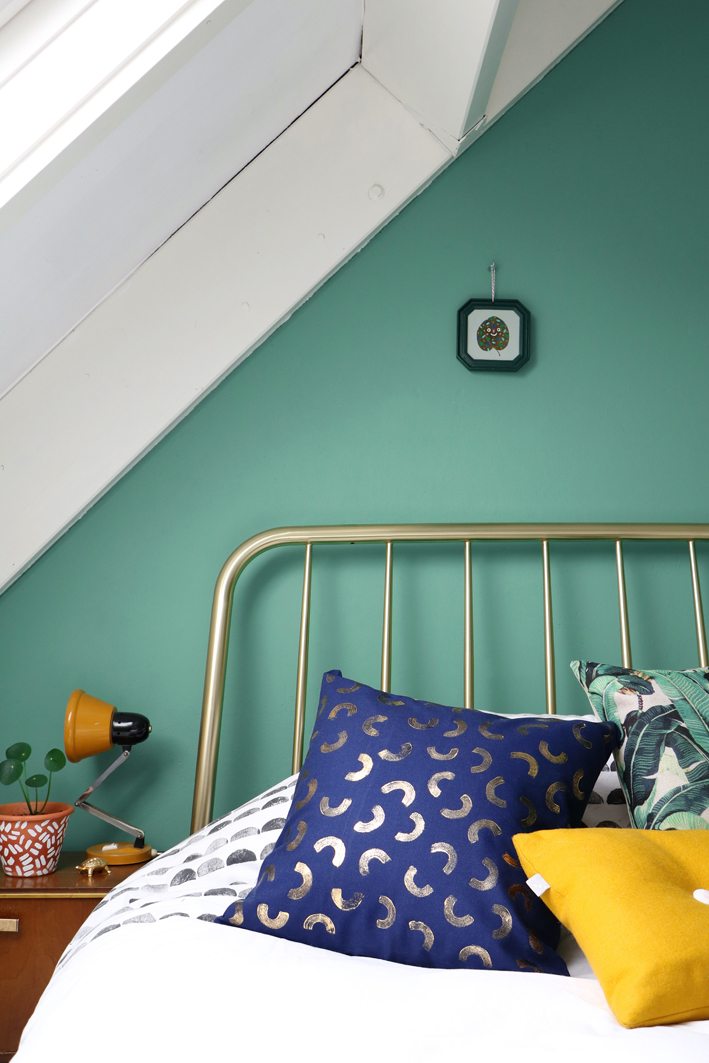
You might have seen the foil print cushions in my shop earlier, if not, you can find them here! I made this DIY project for Fashionchick Girls magazine. Now I’m showing you how to make a handprinted cushion with foil print yourself! I love to work with my hands and making the patterns for these cushions is very calming I tell you! You do have to be patient because you have to add every single shape onto the fabric with a small brush, yes it will take some time… Sometimes forcing yourself to do some slow work with your hands is a very good and relaxing thing! I love the combo of the gold foil print with the blue fabric…
THIS IS WHAT YOU NEED:
– A pillow case in a plain cotton or linen in a colour of your choice.
– Foil transfer paper
– Textile glue
– A brush
– An old towel
– Baking paper
– An iron
STEP 1:
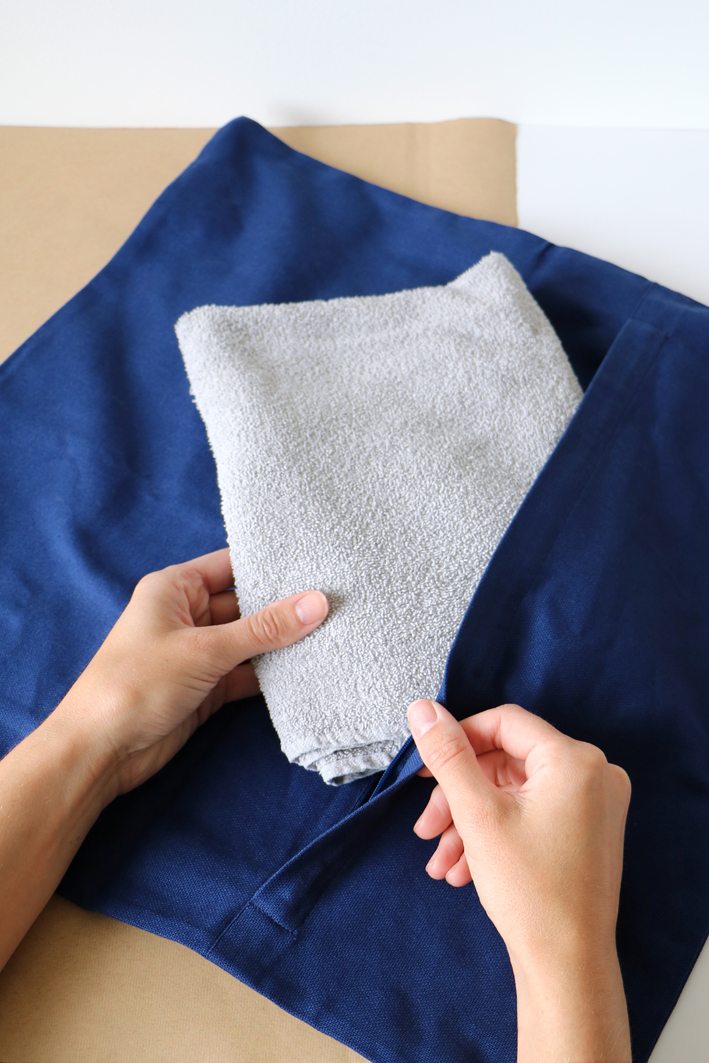
Open the cushion cover and place the towel inside. Try to fill up the hole cushion with the towel so the glue will stay only on one side of the cushion.
STEP 2:
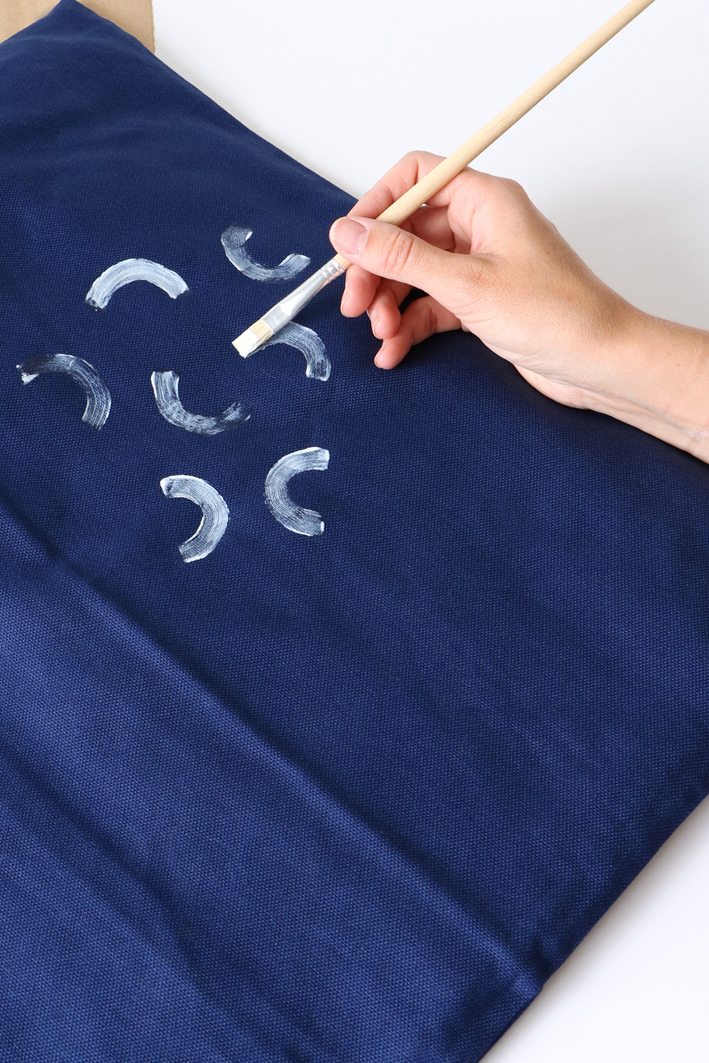
Use a small brush and the textile glue to paint a pattern you like onto the fabric. Make sure you use enough glue so the transfer paper will stick to the glue. Leave it to dry.
STEP 3:
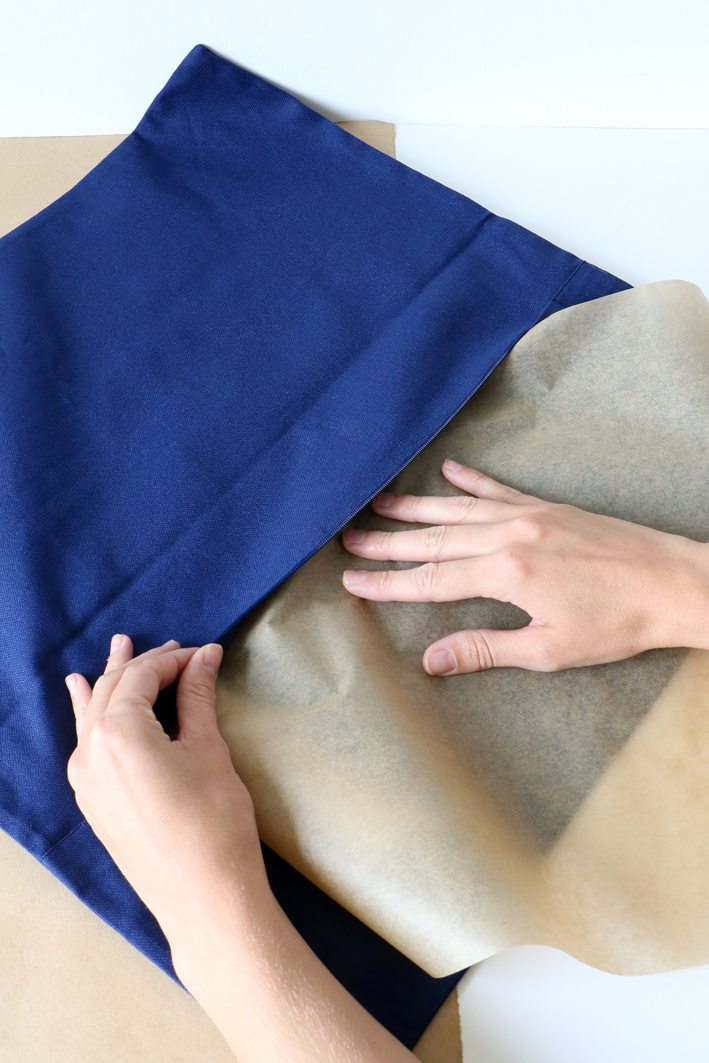
When the glue is all dried up, you place a piece of baking paper (the size of the cushion cover) inside the cushion.
STEP 4:
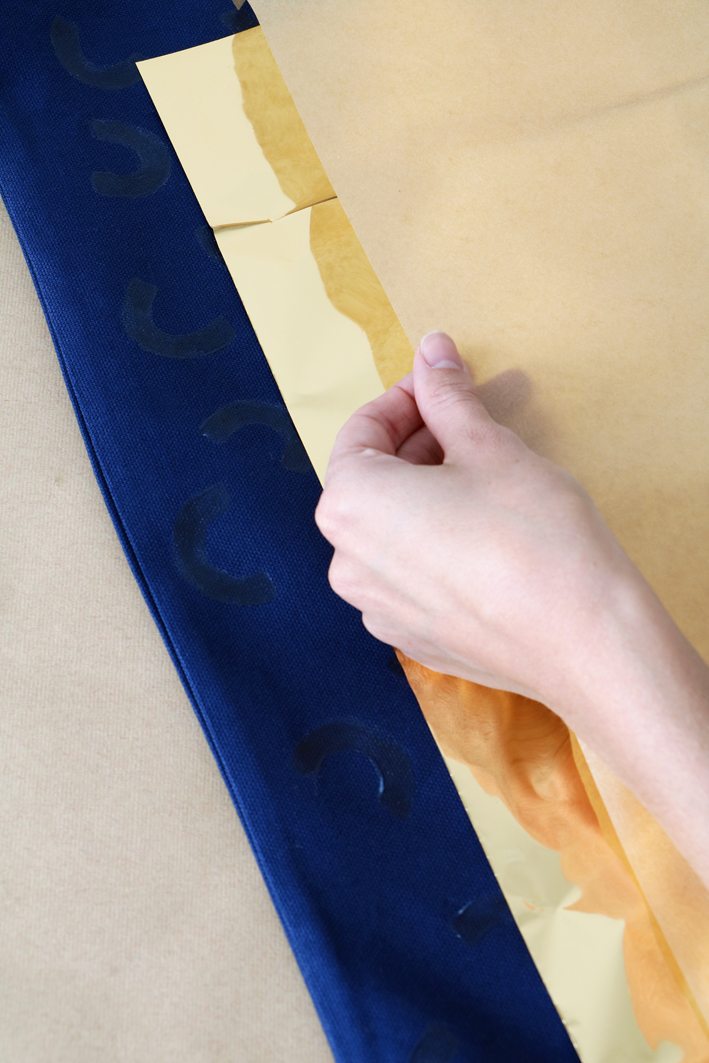
Place a piece of foil transfer paper on top of the cushion with the metallic side up. On top of that you place another piece of baking paper.
STEP 5:
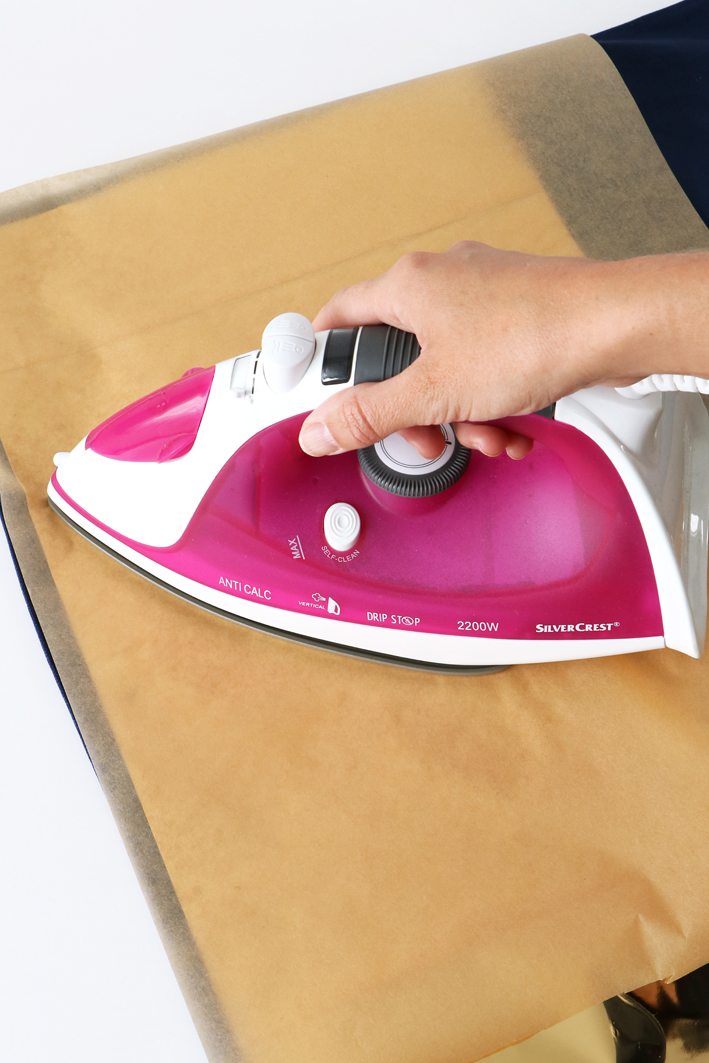
Let you iron heat up and place it on top of the baking paper. Make sure you iron the piece of foil transfer paper completely and check if your iron is hot enough by lifting a corner of the foil paper. If the paper doesn’t stick properly to the glue, turn up the heat a little.
STEP 6:
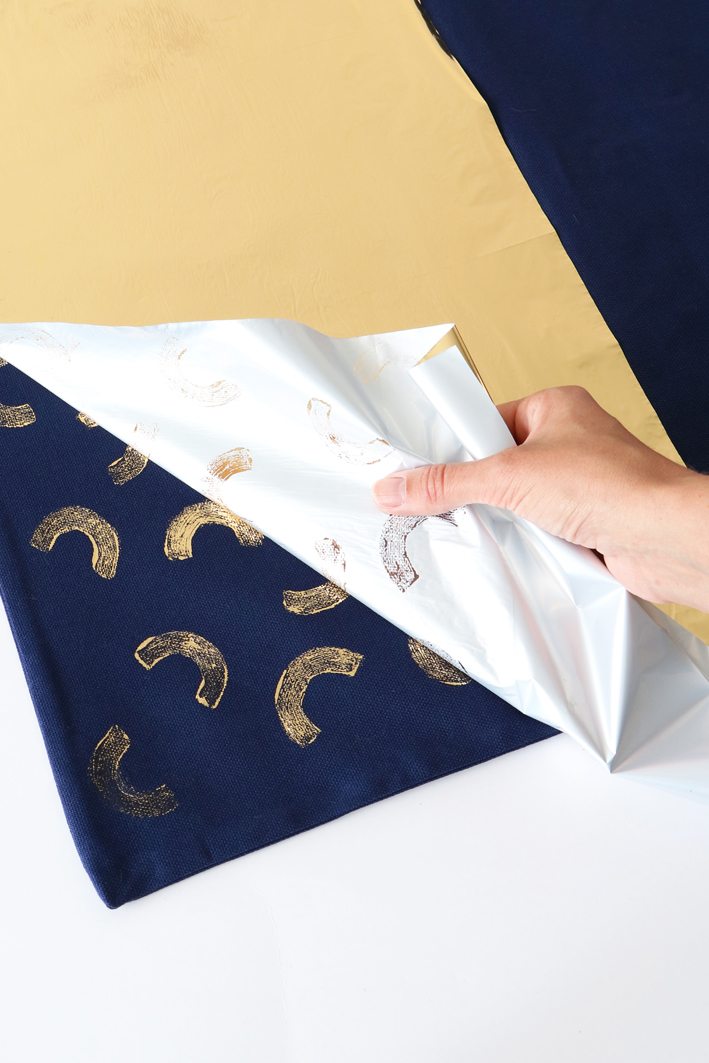
When you’re done ironing, carefully remove the foil paper. If everything went to plan, you now have an awesome handmade cushion with foil print!
For more DIY inspiration, click here!
Photography: Marij Hessel

